How to print direct-to-film (DTF) on the DTG-C Model X

Video: Learn how to print direct-to-film (DTF) on the DTG-C Model X

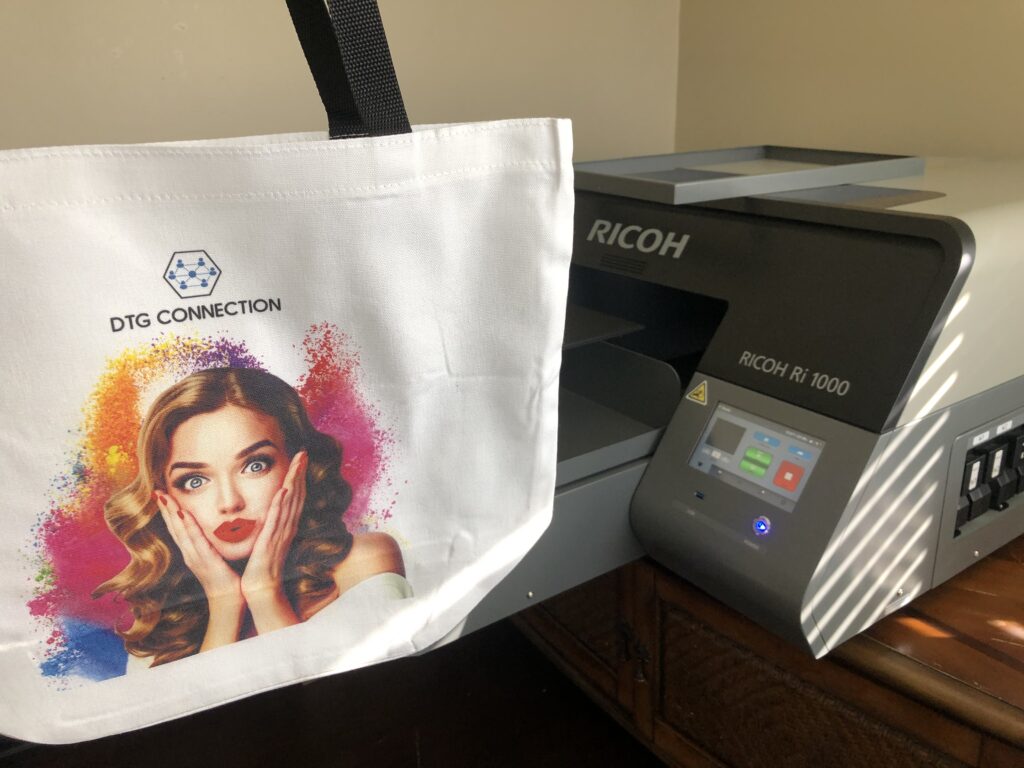
In a recent blog post, we showed you the steps to print direct-to-film on the Epson F2100 DTG printer.  Of course you can also print DTF on our new DTG-C Model X DTG printer.  So we decided to provide the step by step tutorial for DTF on the Model X as well.

Before we show you how, let’s recap why you’d want to use a DTG printer for DTF.  Here are just a few reasons DTG owners have started adding DTF to their arsenal of services:

  1. No pretreatment required. Even when using white ink!
  2. Use less ink with same results.
  3. Same print resolution with similar feel and wash fastness as DTG.
  4. Print designs in advance, then simply heat press on garment when ordered.
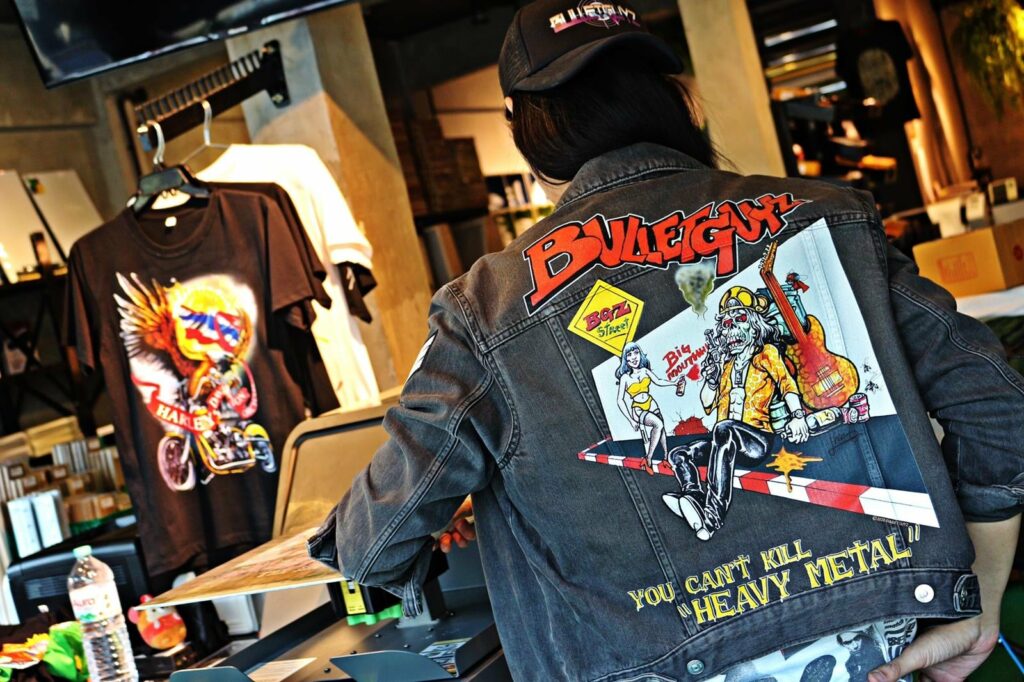
  5. Expanded materials options.  DTF film can be applied to poly, rayon and other surfaces that are not typically compatible with DTG prints.

These are just a few of the reasons to try out DTF for yourself.  Printing directly to the garment is still a faster and cleaner process, but now you can choose which process fits the job without buying more equipment!

Now let’s look at how it’s done.

DTF Supplies for the DTG-C Model X Printer
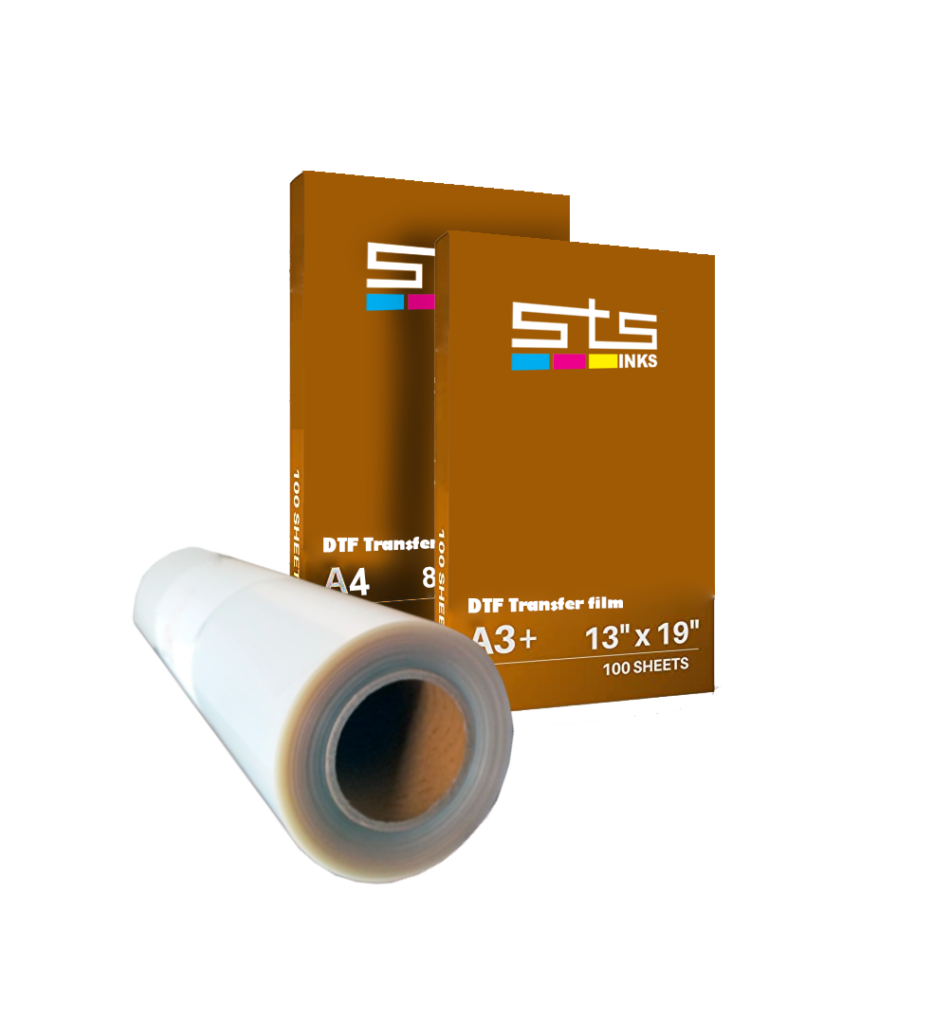
film combined

If you want to get started printing DTF on your Model X, you just need a couple supplies.  Head over to the DTG Connection store to pick up some transfer sheets and white powder. We even have a FREE sample kit so you can try it out.

How to Prepare Graphics for DTF Printing

Total Time Needed: 3 minutes

Required Tools:

- PC with Graphics Program (PhotoShop, Corel, etc.)
- Printer RIP Program (TurboRIP, AnaRIP, etc)

Things Needed?

- Your Design

Steps to Set Up DTF Graphic File

Step 1 : Reverse Image
Using your favorite graphics program (PhotoShop, CorelDraw, etc.), you’ll want to convert your graphic to a mirror image. This will allow the image to be oriented properly when you transfer from film to the garment. In the graphic editing program, import the graphic and then “flip canvas horizontally.” This is usually found in the image drop down menu under image rotation. Then save as a PNG file with 300 dpi.
flip canvas
Step 2 : White Layer RIP
Open the file in TurboRIP for your Model X printer. You’ll place and size the image on the virtual platen and select “Add white underbase.” Adjust the size and position on the platen to how you want it to print. Select “print white only.” Reduce resolution to 600×600 dpi. Click “Print” and save to your computer.
White underbase
Step 3 : Color Layer RIP
After you’ve saved your white underbase, go back to TurboRIP without changing any of the position settings, you will now uncheck the “Add white underbase” box. Then hit the “Print” button again and save with a different name indicating “color pass.”
CMYK Pass
Step 4 : Send Files to Printer
You are now ready to send the files to your printer. The easiest way is to transfer the files to a USB flash drive and then insert the drive into your Model X.

Printing Direct-to-Film (DTF) on the Model X

Total Time Needed: 10 minutes

Required Tools:

- DTG or DTF Printer
- Heat Press or Curing Oven

Things Needed?

- DTF Transfer Paper
- DTF White Powder
- Shaker Tray

Steps to Print DTF on the Model X Printer

Step 1 : Print Color Layer
Place your DTF film on the platen with the textured side facing up. You’ll want to apply a small amount of tape to keep the film from shifting on the platen. You’ll be printing the color pass first since everything is reversed with the print transfer. Select the color pass file you created in the previous step and print the file.
print cmyk pass
Step 2 : Print White Underbase
Without moving the film, you will now print the white underbase on top of the color. This may seem strange as the white ink will completely cover all the color you just printed. Open the white underbase file from the previous steps and then hit print.
print white
Step 3 : Apply DTF White Powder
Remove the sheet from the printer (be careful not to allow wet ink to shift) and sprinkle DTF powder over the printed surface. Be sure to cover all ink surfaces and then shake off any excess powder. Excess powder can be saved and re-used for your next print.
Apply Powder
Step 4 : Cure Ink and Powder on Transfer Sheet
Place the printed DTF transfer sheet on a heat press with ink facing up. Hover your heat press platen over the sheet for 2 minutes at 350 degrees to fully cure the ink. Do NOT fully clamp down the heat press. After the 2 minutes, you now have a ready-to-use DTF transfer sheet. You can choose to apply to garment right away or you can save the sheets for later when the customer places an order.
cure transfer film
Step 5 : Press Transfer Paper Onto Garment
Now you are ready to apply the graphic to the garment. Simply load the garment into the heat press and position the paper in the desired location, ink side down/shinny side up. Cover with craft paper and press the garment for 30 seconds at 350 degrees.
Press Garment
Step 6 : Remove Film
After the garment is pressed, allow the paper to cool. Once cooled, you can peel the paper from the garment to reveal the final product!
Final DTF Print

Leave a Comment

Your email address will not be published. Required fields are marked *

Shopping Cart
Scroll to Top