Step-by-Step Guide: Printing with CustomPlatens on the Epson F2100

Learn how to set up print files for Custom Platens on the Epson F2100
cad5c4 a7c8f72e74fa42bab799ba8e80a1af3cmv2 2

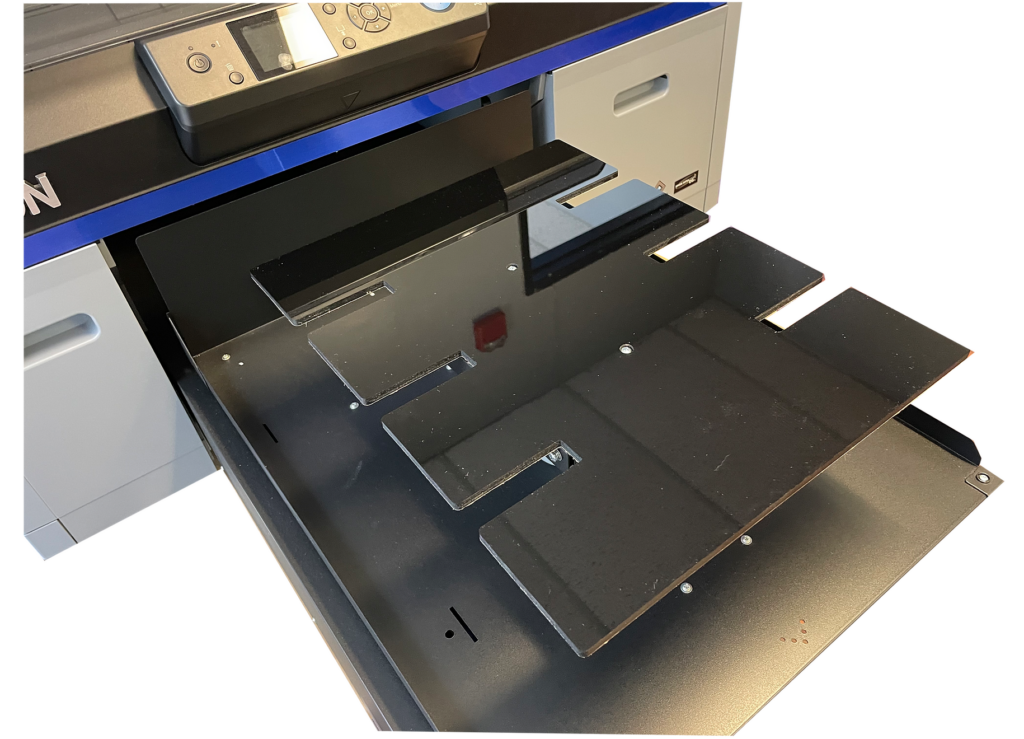
We are often contacted by our customers asking for information on the process for printing with custom platens on the Epson F2100 DTG printer.  Currently, the Epson’s Garment Creator software is pre-loaded with templates for the large, medium, small, extra small, and small sleeve platens. 

However, CustomPlatens now produces many additional options like the zipper platen, hoodie platen, long sleeve platen, koozie platen and the sock platen available at the DTG Connection online store.

So, the question is, how do you line up your print with the platen if its not in Garment Creator?

CustomPlatens.com has the solution.  Below are the steps you’ll need to take to start printing custom platens on your Epson F2100.

Custom Platens for your Epson F2100 DTG Printer
cad5c4 46315b001b4247fe9208e6ae62bed3f2mv2 e1678086380447

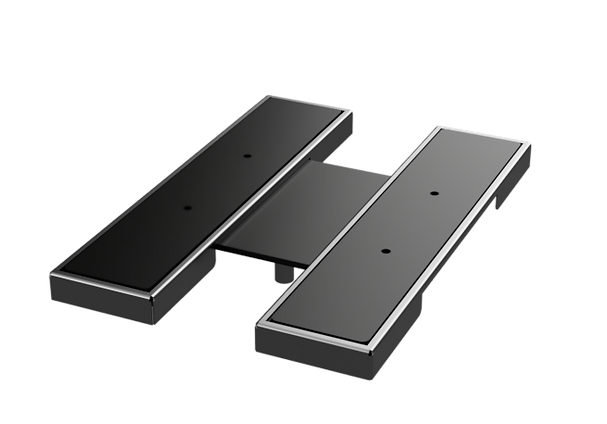
Check out our full line of platens for the Epson F2100 from CustomPlatens. Print on a wide range of sizes and shapes of garments including hoodies, zippers, sleeves, koozies and more!

Steps to prepare files for custom platens on the Epson F2100

Total Time Needed: 5 minutes

Required Tools:

- PC with Graphics Program (PhotoShop, Corel, etc.)
- Epson’s Garment Creator software
Epson F2100 Printer

Things Needed?

- Your Design

Step 1 : Download the template for your platen
When you purchase the platen, included inside the box you will find a coupon code to download an .AI (Adobe Illustrator) template with the exact outline of the platen you purchased. You can open this file in Adobe Illustrator or Photoshop if you do not have Illustrator. For this post, let’s take the sleeve template as our test case. Once you open the file in either Adobe Illustrator or Photoshop you will have a template outline of the sleeve. Below is an example of what it looks like in photoshop.
Picture2
Step 2 : Import and overlay your graphic
The next step is to import your graphic file into its own layer and position it within the outline of the sleeve. Once you have the image where you want, you will need to delete or hide the outline layer.
Picture1
Step 3 : Save the graphic file and import into Epson’s Garment Creator software
From there, you can simply save the image and then open it up in Garment Creator.
Picture3
Step 4 : Print!
Custom Platens has made this template so that when you bring it into Garment Creator it will align with the platen on the machine. So, simply, press print.

Check out our full selection of CustomPlatens for the Epson FP2100 as well as other DTG accessories and supplies at DTGConnection.com.

Leave a Comment

Your email address will not be published. Required fields are marked *

Shopping Cart
Scroll to Top