Tips & Tricks for Great DTG Prints from Expert Sukit Amorn
Many of you may have already virtually met Sukit Amorn from SK Color in Thailand on DTG Facebook groups where he has been a major contributor helping DTG owners get the most vibrant results in their prints. After seeing his consistent success helping customers achieve the results they were looking for, the DTG Connection team reached out to Sukit to share ideas and help spread his great advice and amazing prints further in the North America market. One of his “secret” weapons is using the pretreat fluid that his company developed. So in January we worked out a deal to import is SK Pretreat so the US market could have access to this great product.
But Sukit’s expert advice is not just about using a great pretreat. He consistently contributes great advice on RIP settings and printing techniques that help DTG print shops put out some amazing products. So we asked Sukit’s permission to republish some his highlights here so it doesn’t get lost in the archives of Facebook posts.
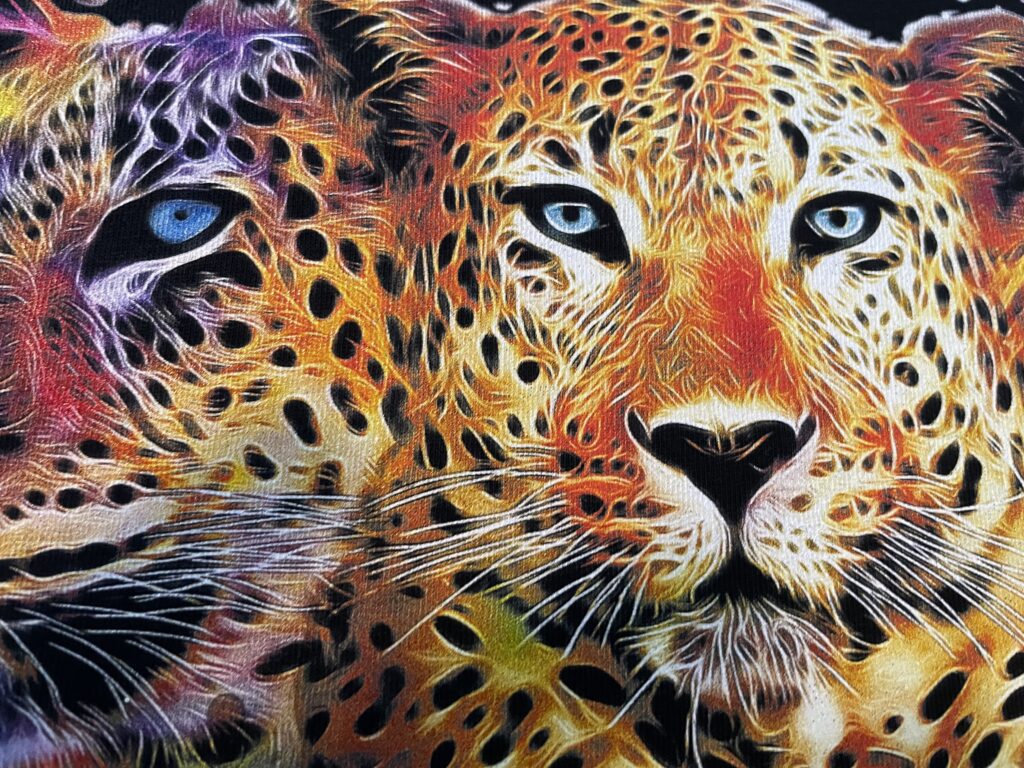
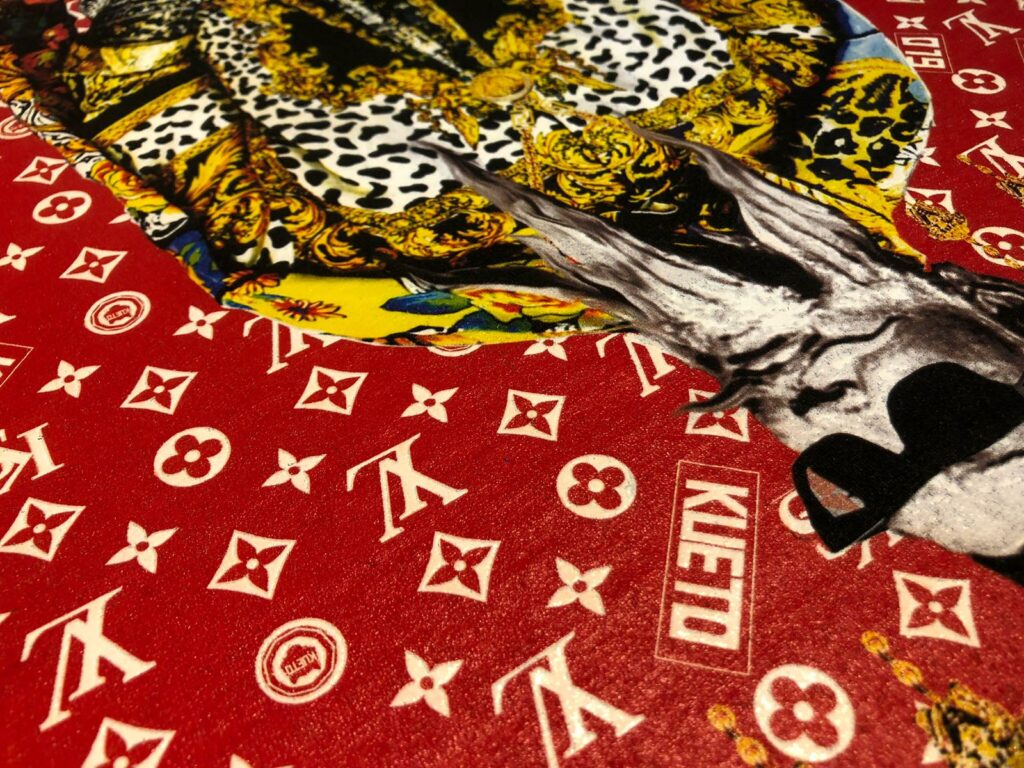
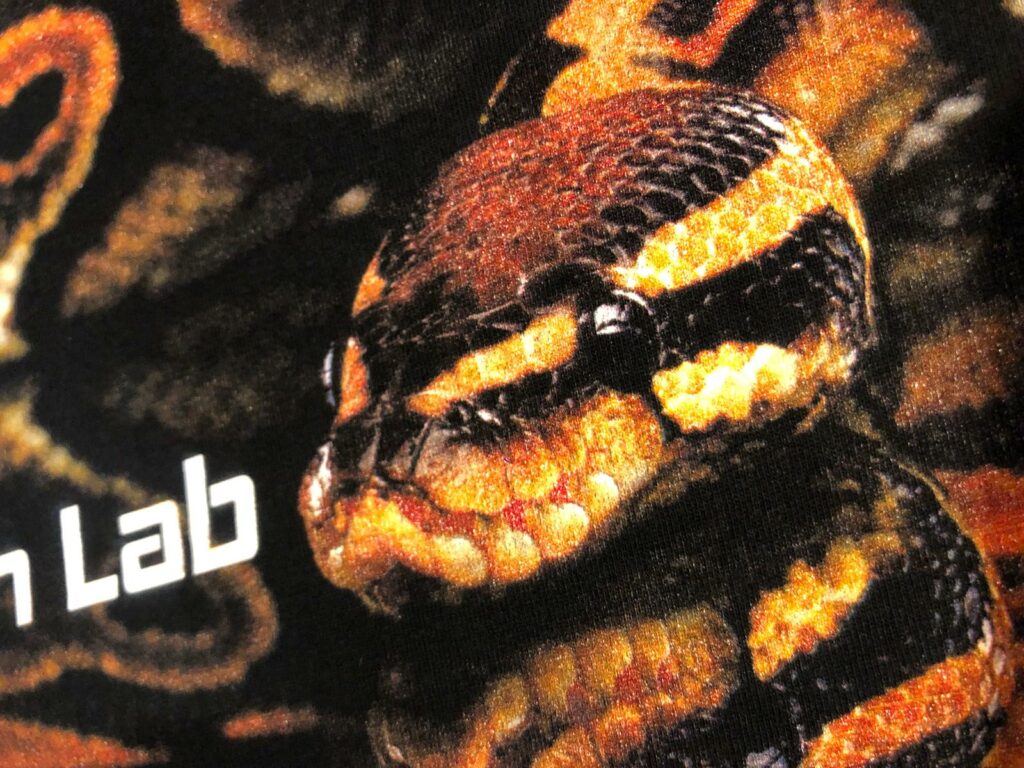
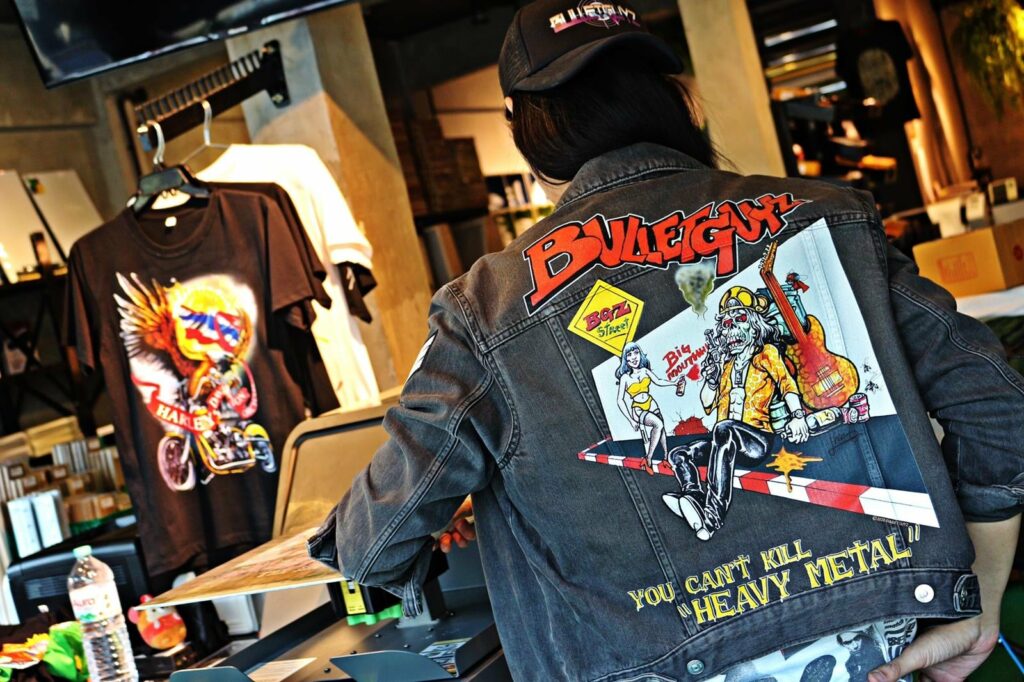
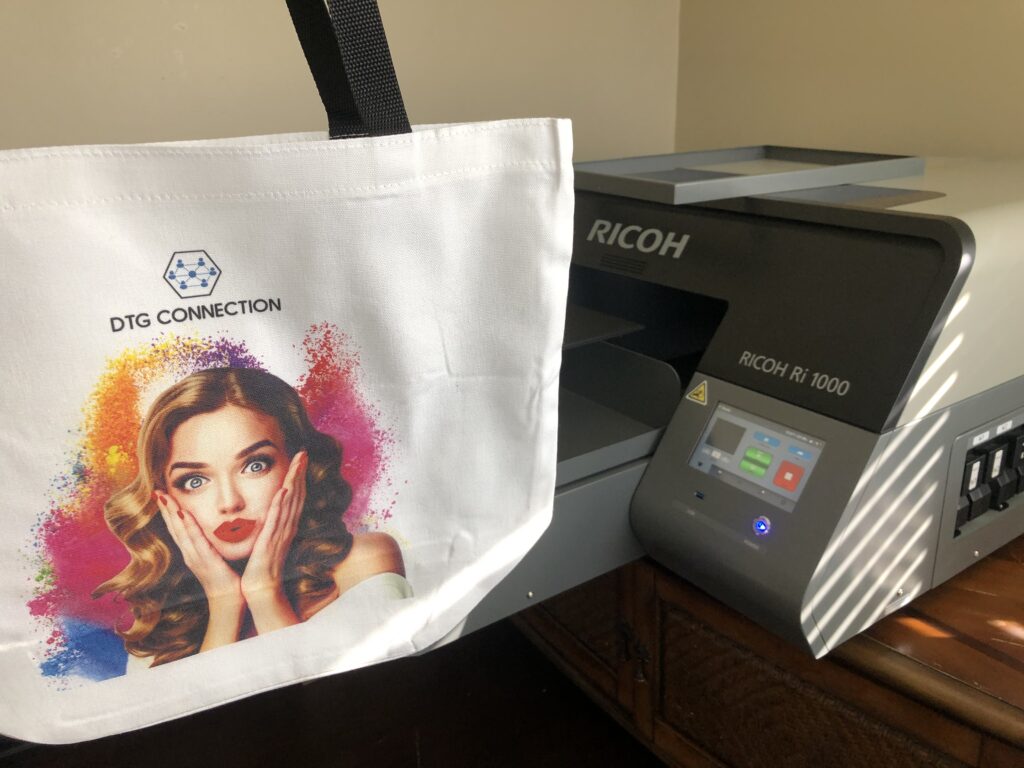
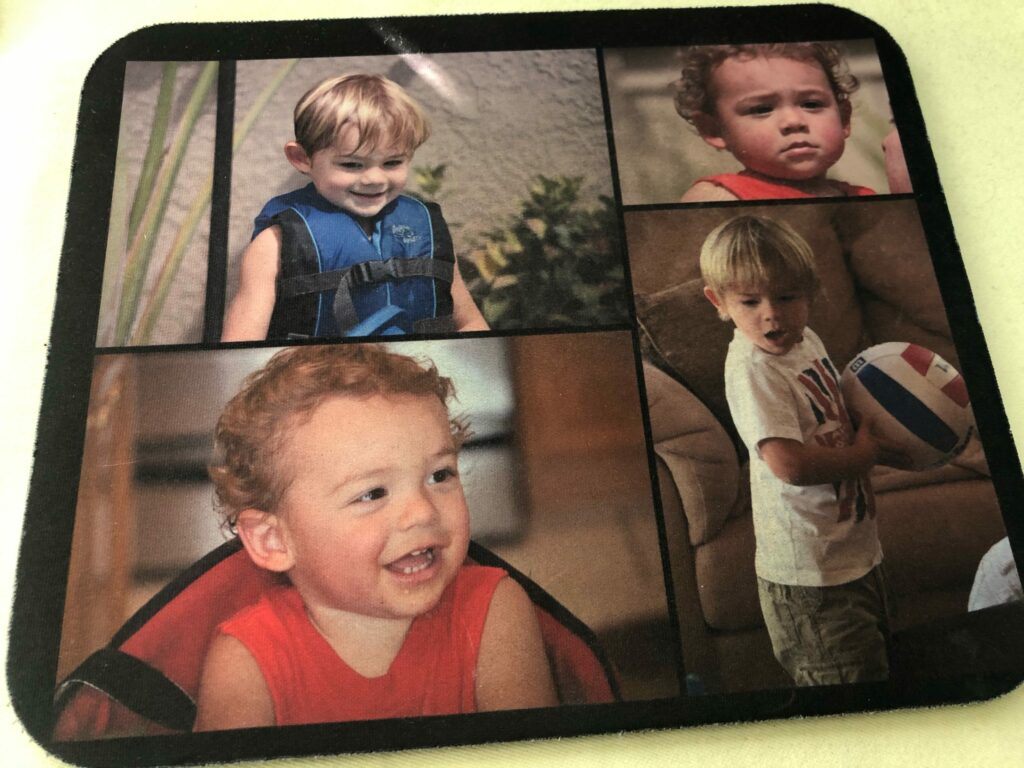
Actual Print Examples Using These Techniques:
Improve the Vibrancy of Your Prints & Maintain the Feel of the Garment!
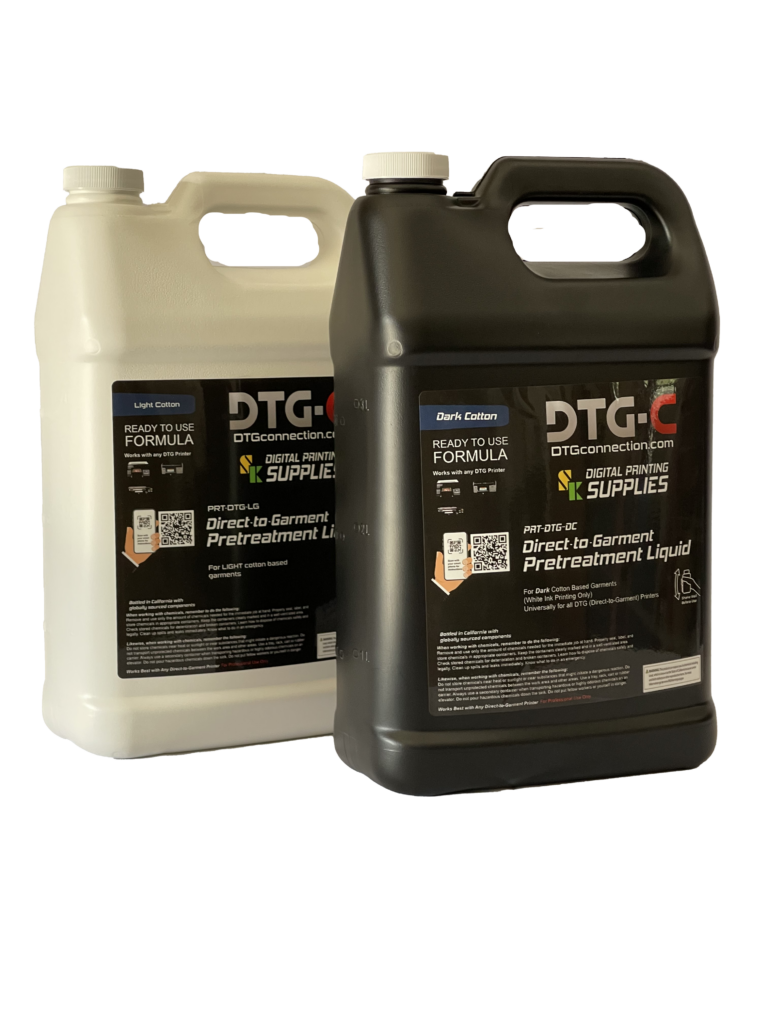
Try the SK Pretreatment fluid that everyone is raving about!
“Works awesome! You got our business!” – Adrian in Houston, TX
“We absolutely love it. It made the colors vibrant, and it feels soft to the touch and it makes you feel confident like you cannot over or under pretreat.” – Kanji Entertainment – Lenexa, KS
Basic RIP Settings for Quick and Consistent Results
Here is a great starting point for RIP settings using AnaRIP for the RICOH Ri 1000.
Printing Settings Tab –
- Super Fine
- Widest Dot

Color Adjustment Tab – Don’t touch anything in this section except make sure you select “Perceptual Rendering”

White Ink Tab –
- Enable Content Base
- Enable Highlight
- Highlight 35-40%
- Pure White 90-100%
- Choke 2

Printing Tip for White Underbase
- For an 11 x 17 inch sized design using the above settings, we recommend a 25-35 seconds white ink dry time to allow the white ink pass to properly set before applying the CMYK layer.
- Fo an 8 x 10 inch sized design, you should target about 65-85 seconds dry time.
Pretreating Tips & Tricks
1. Start With Quality Pretreatment Fluid
- The first thing you need to do is make sure you are using a quality pretreatment fluid. Most of these recommendations apply to all brands of pretreat. We obviously recommend the fluid made by Sukit’s company SK Color now available in the US exclusively through DTG Connection – SK Pretreat for Dark Garments. Benefits of SK Pretreat are more vibrant colors, no staining and a soft feel without washing.
- Heatpress your pretreated shirt at 356F 45-55 seconds(medium to light pressure)
- After it is done make sure your teflon or kraft paper just flies off or disconnects from the shirt when you open the heat press.
- If your teflon or kraft paper is still sticking to the shirt, peel it off and heat press again for 5-10 seconds then make sure that your paper is not sticking to the shirt any more. This will make sure that shirt fibers are already down.
- When using teflon, make sure you always keep the teflon sheet clean by wiping it with a wet piece of cloth. We recommend a wipe down after 15-25 shirts.
- Always remember or mark which side of teflon makes contact with the shirt and always use the same side in your process
- When using kraft paper or parchment paper, be sure to replace the paper as soon as it begins to wrinkle. Otherwise you may cause a permanent wrinkle stain in the garment.
- DO NOT TOUCH YOUR PRETREATED AREA ON YOUR ALREADY PRETREATED SHIRT. If you touch the garment after it has been pretreated and pressed, you may cause the fibers to stand back up which is not what you want. This will cause less vibrant prints and potentially pin holing in the whites.
- If you stack your pretreated and pressed shirts together, make sure you give each shirt a quick 5-10 second press before you print. This will lay the fibers down again for the best possible printing surface.





Why was I told 5 for white adjustment and choke 4
Good question Michelle. It depends a lot on your specific situation, what you are trying to accomplish and your other settings. This article was specifically following the advice of someone that consistently produces high quality images with bright and solid whites. Note that in order to accomplish this, he specifically includes instructions on wait times between the white and color passes to allow enough time for the white ink to “skin” before the color pass. Some people like to reduce the pure white so they can reduce the wait time and avoid bleeding of the whites.
One thing we’ve learned is always true about the DTG world is that if you ask 100 printers for their “best settings”, you are likely to get many different answers. And many of those answers will be right for what they are trying to achieve or their specific situation. If the settings you were given work for you, then there is no problem sticking with them. If you want to see if they can be improved, give this method a try and compare. Just be sure to follow all the instructions given to be sure one setting is not counteracting another like the wait times example I mentioned.
This is great content. Can I request similar info for those running Colorgate RIP software?
Thanks Lee for the suggestion. We primarily train our customers using AnaRIP because for now it is more user friendly. But I know some people prefer Colorgate because of some of the functionality and color profiles. We will try to add some content for Colorgate in the future.